MIL-PRF-1/1099H
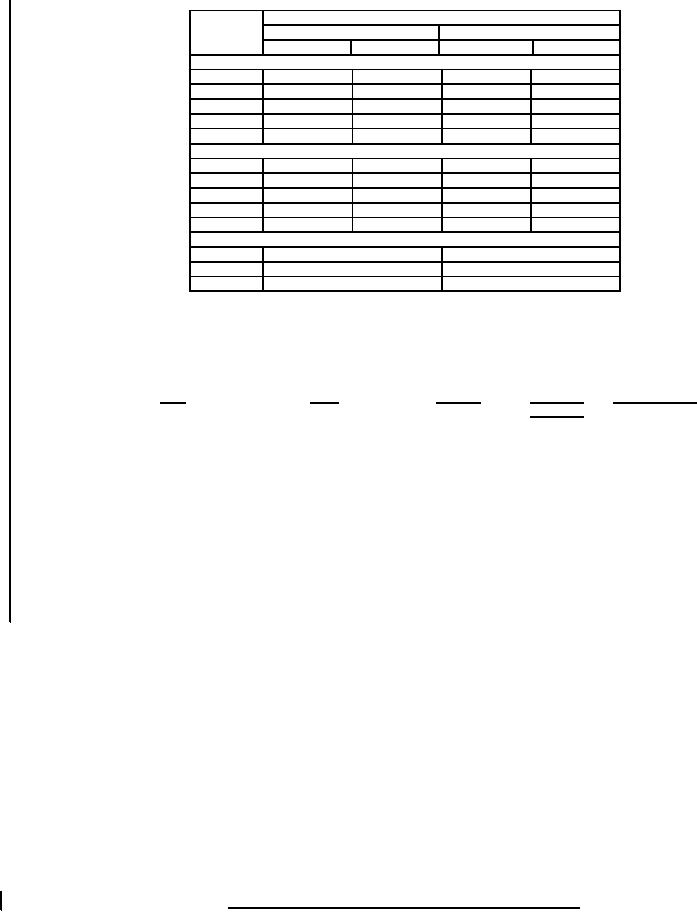
Dimensions
Ltr
Inches
Millimeters
Min
Max
Min
Max
Conformance inspection, part 2
A
11.530
12.281
292.87
311.93
B
---
3.312
---
84.12
C
8.343
9.469
211.90
240.50
R
2.662
2.682
67.61
68.12
T
89�60'
90�40'
89�60'
90�40'
Conformance inspection, part 3 (see note j)
D
7.500
8.500
190.50
215.90
E
5.938
6.062
150.83
153.97
S
.309
.315
7.85
8.00
U
.559
.573
14.20
14.55
V
.500
---
12.70
---
Reference dimensions
G
.063
1.60
2
W
14 AW G
2.5 mm
2
X
10 AW G
6.0 mm
NOTES:
a. Mounting flange is electrically isolated.
b. Dimension D is measured from bottom of flange to center of lead lug hole.
c. Leads shall be flexible. Leads shall be identified as follows:
Lead
Lug (see note h)
Color
Sleeving
Reference
dimension
G (grid)
Green
H-A-1 (see note d)
W
SAE-AS25036-108
H (heater)
Yellow
H-A-1 or H-8-1
W
SAE-AS25036-157
HR (heater) (see note f)
Yellow with black sleeve
H-A-1 or H-8-1
SAE-AS25036-157
W
HR (reservoir) (see note f)
Red with yellow sleeve
H-A-1 or H-8-1
SAE-AS25036-108
W
R (reservoir)
Red
H-A-1 or H-8-1
SAE-AS25036-108
W
K (cathode)
Black
SAE-AS25036-157
H-A-1 or H-8-1
X
d.
As specified in MIL-I-3190.
e.
Reservoir voltage shall be inscribed once above each mounting hole on aluminum base shell.
f.
Heater lead HR internally connected to reservoir lead HR.
g.
Cathode heater connection to this lead.
h.
Lugs shall be permanently identified with symbols as follows:
G (grid), K (cathode), H (heater), R (reservoir), and HR (heater-reservoir).
i.
Holes shall be inspected for orientation by using the base gauge outlined in figure 4.
FIGURE 5. Outline drawing of electron tube type 5948C (alternate glass version) - Continued.
10
For Parts Inquires call Parts Hangar, Inc (727) 493-0744
© Copyright 2015 Integrated Publishing, Inc.
A Service Disabled Veteran Owned Small Business